
Here's the problem: a simple "add a fixed number of inches" rule doesn't work across the board. Allowances vary by frame type, wall construction, floor condition, and manufacturer specifications. A knockdown drywall frame needs different clearances than a welded frame set into a masonry wall.
This guide walks through a practical calculator method: identify your assembly, gather verified dimensions, run the calculation, check site conditions, and confirm everything against approved product documentation before you order or frame anything.
Key Takeaways
- Calculate from the complete door or frame unit, never the nominal door slab alone.
- Measure width and height at multiple points, plus wall depth, floor elevation, and diagonals.
- Treat standard formulas as starting estimates; commercial, fire-rated, and masonry frames often need different clearances.
- Confirm the final opening against shop drawings and manufacturer specs before fabrication.
How to Calculate a Door Frame Rough Opening
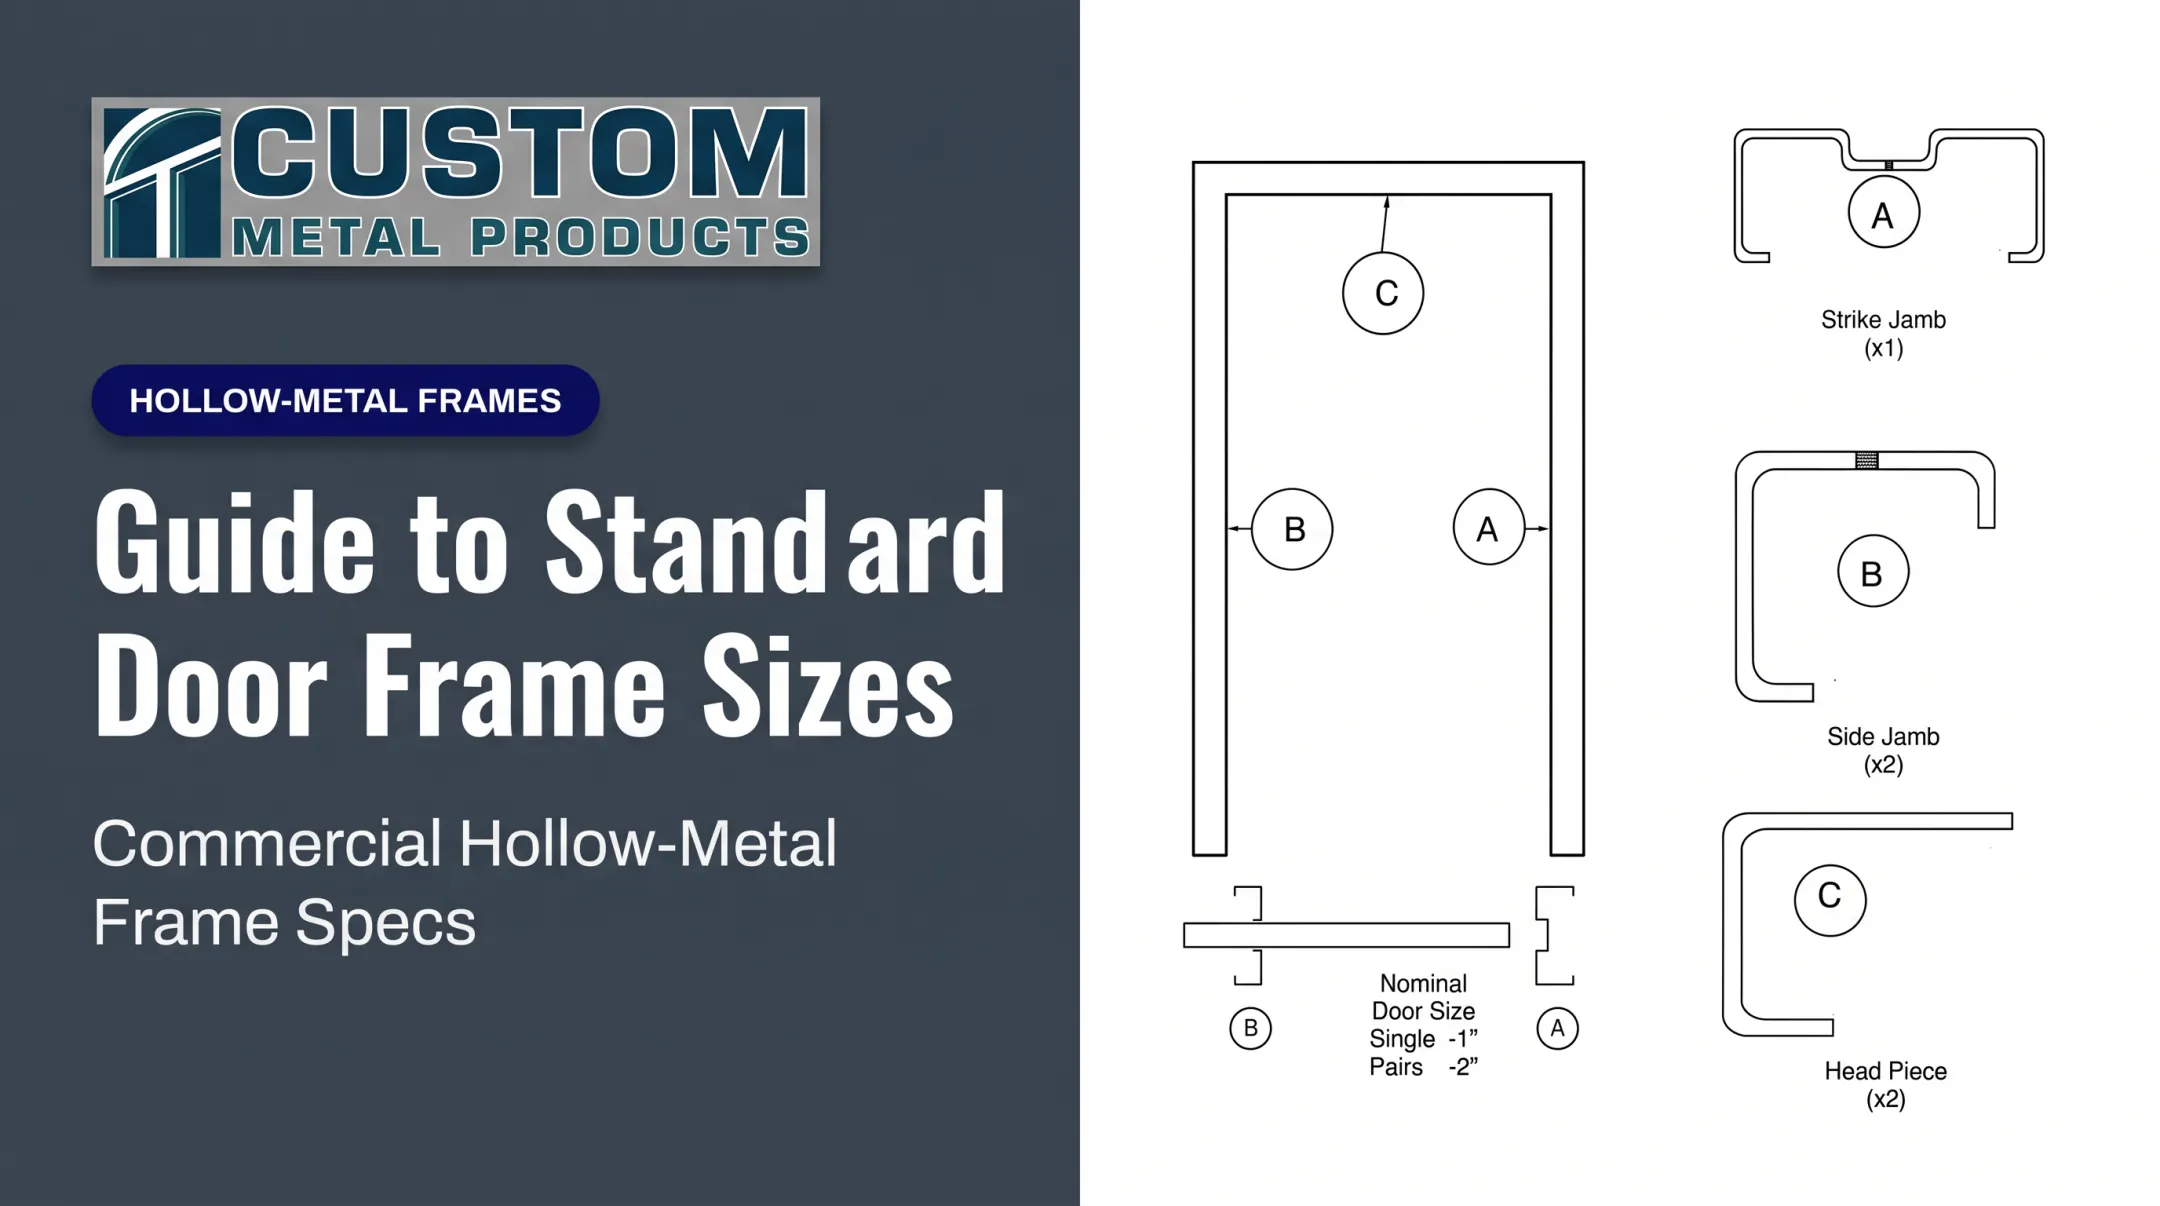
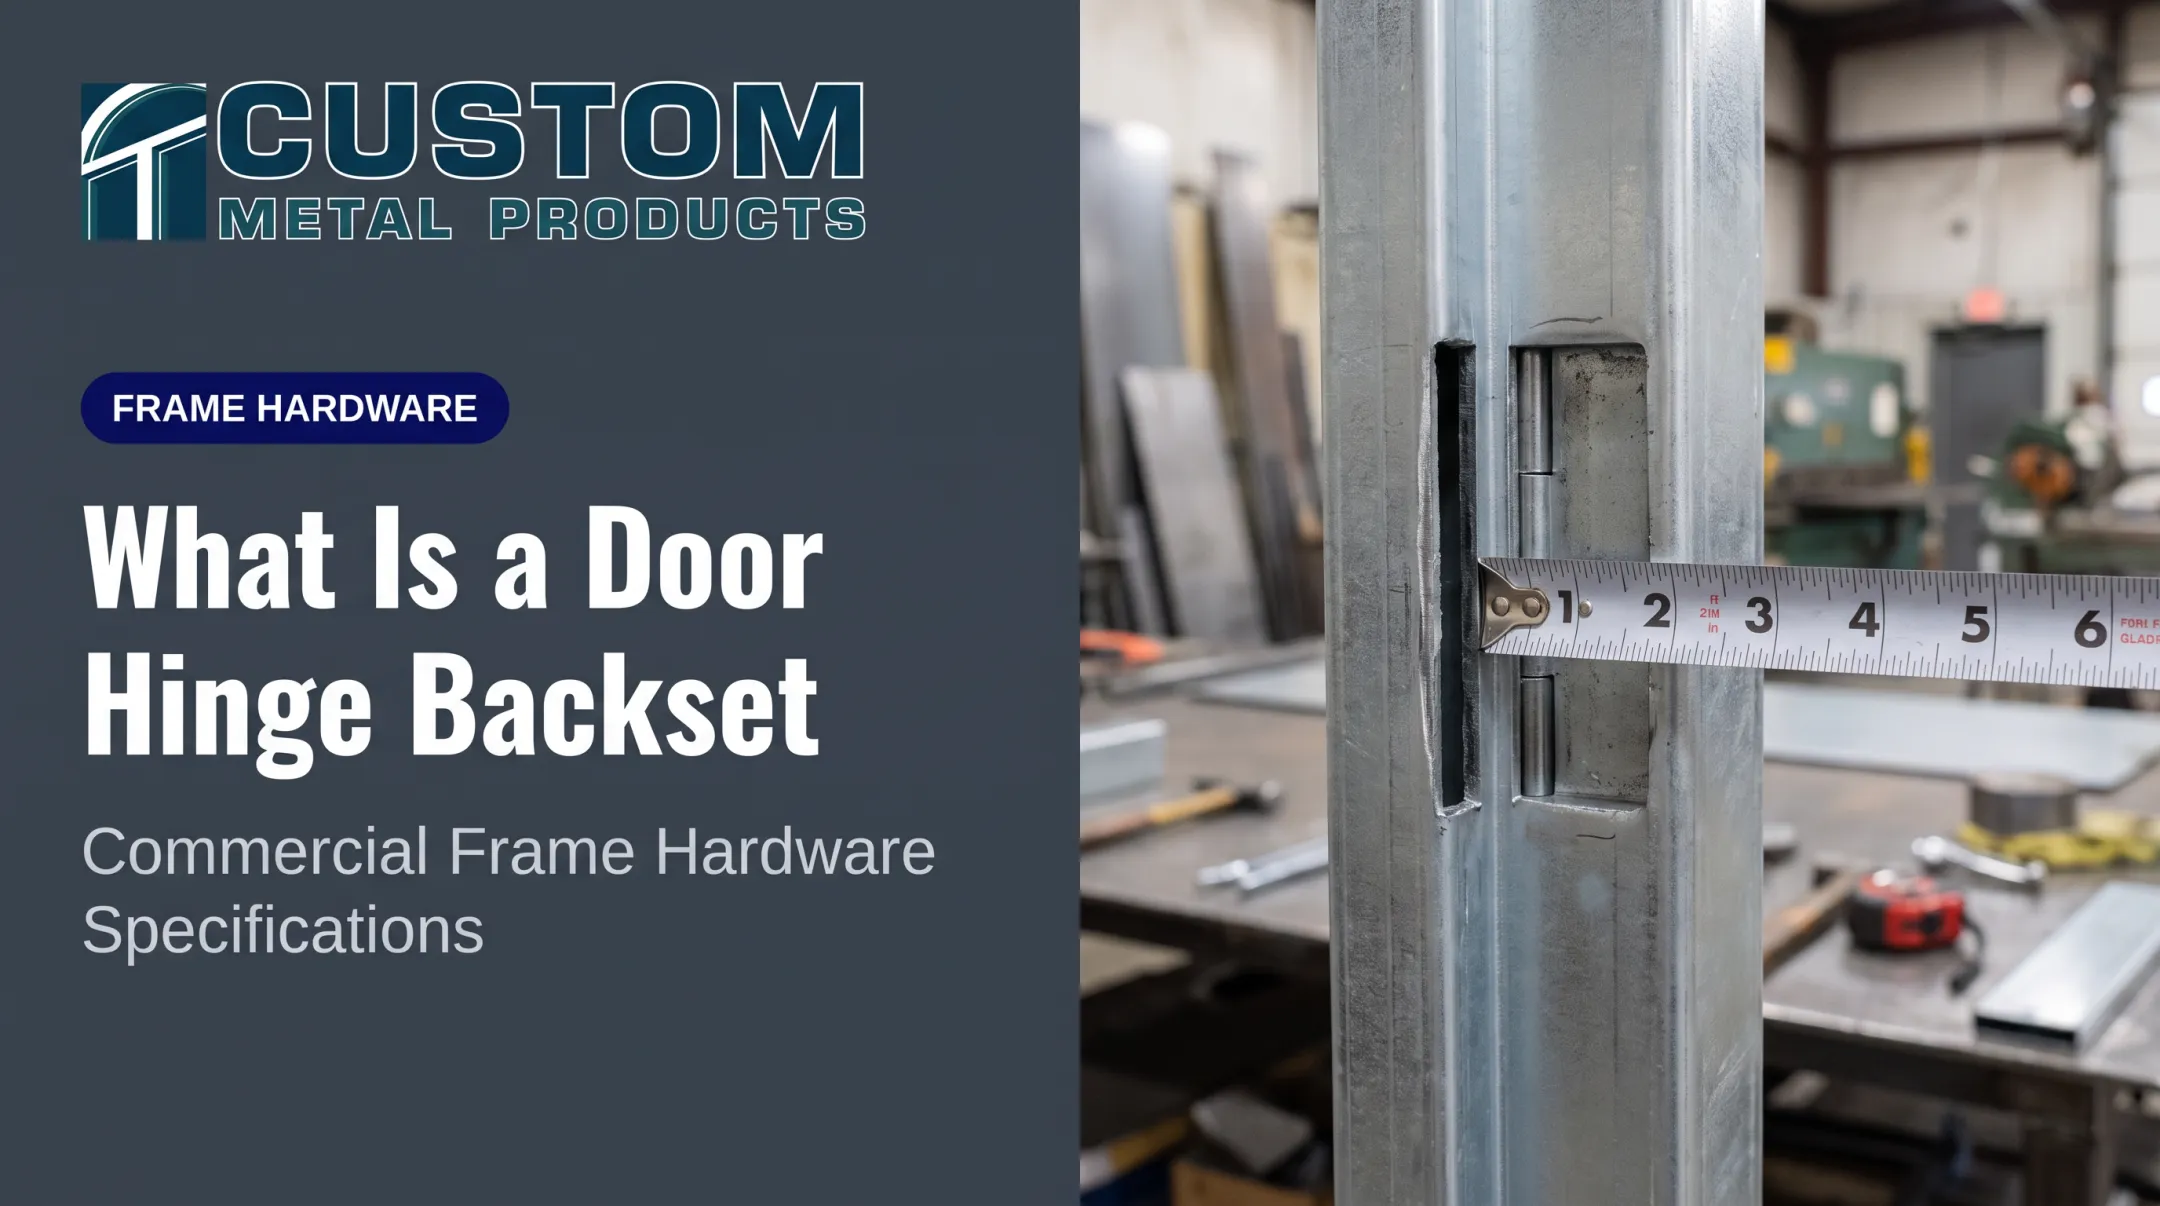
Step 1: Identify the Door and Frame Assembly
Before you calculate anything, record what you're actually installing:
- Nominal door size and actual slab dimensions (if available)
- Frame type, jamb depth, and material
- Handing
- Sidelites or a transom, if part of the assembly
Custom Metal Products' door schedules capture these same fields because each one changes how the opening should be sized.
Don't assume one frame type behaves like another:
- Welded frames install as the stud wall goes up.
- Knockdown (KD) drywall frames are pressure-fit after the partition exists.
- Masonry frames rely on adjustable jamb anchors set into the wall.
An interior residential prehung formula doesn't transfer to a commercial hollow metal frame. Get the manufacturer's frame schedule, shop drawing, or approved submittal, and treat those dimensions as controlling.
Step 2: Calculate the Preliminary Width
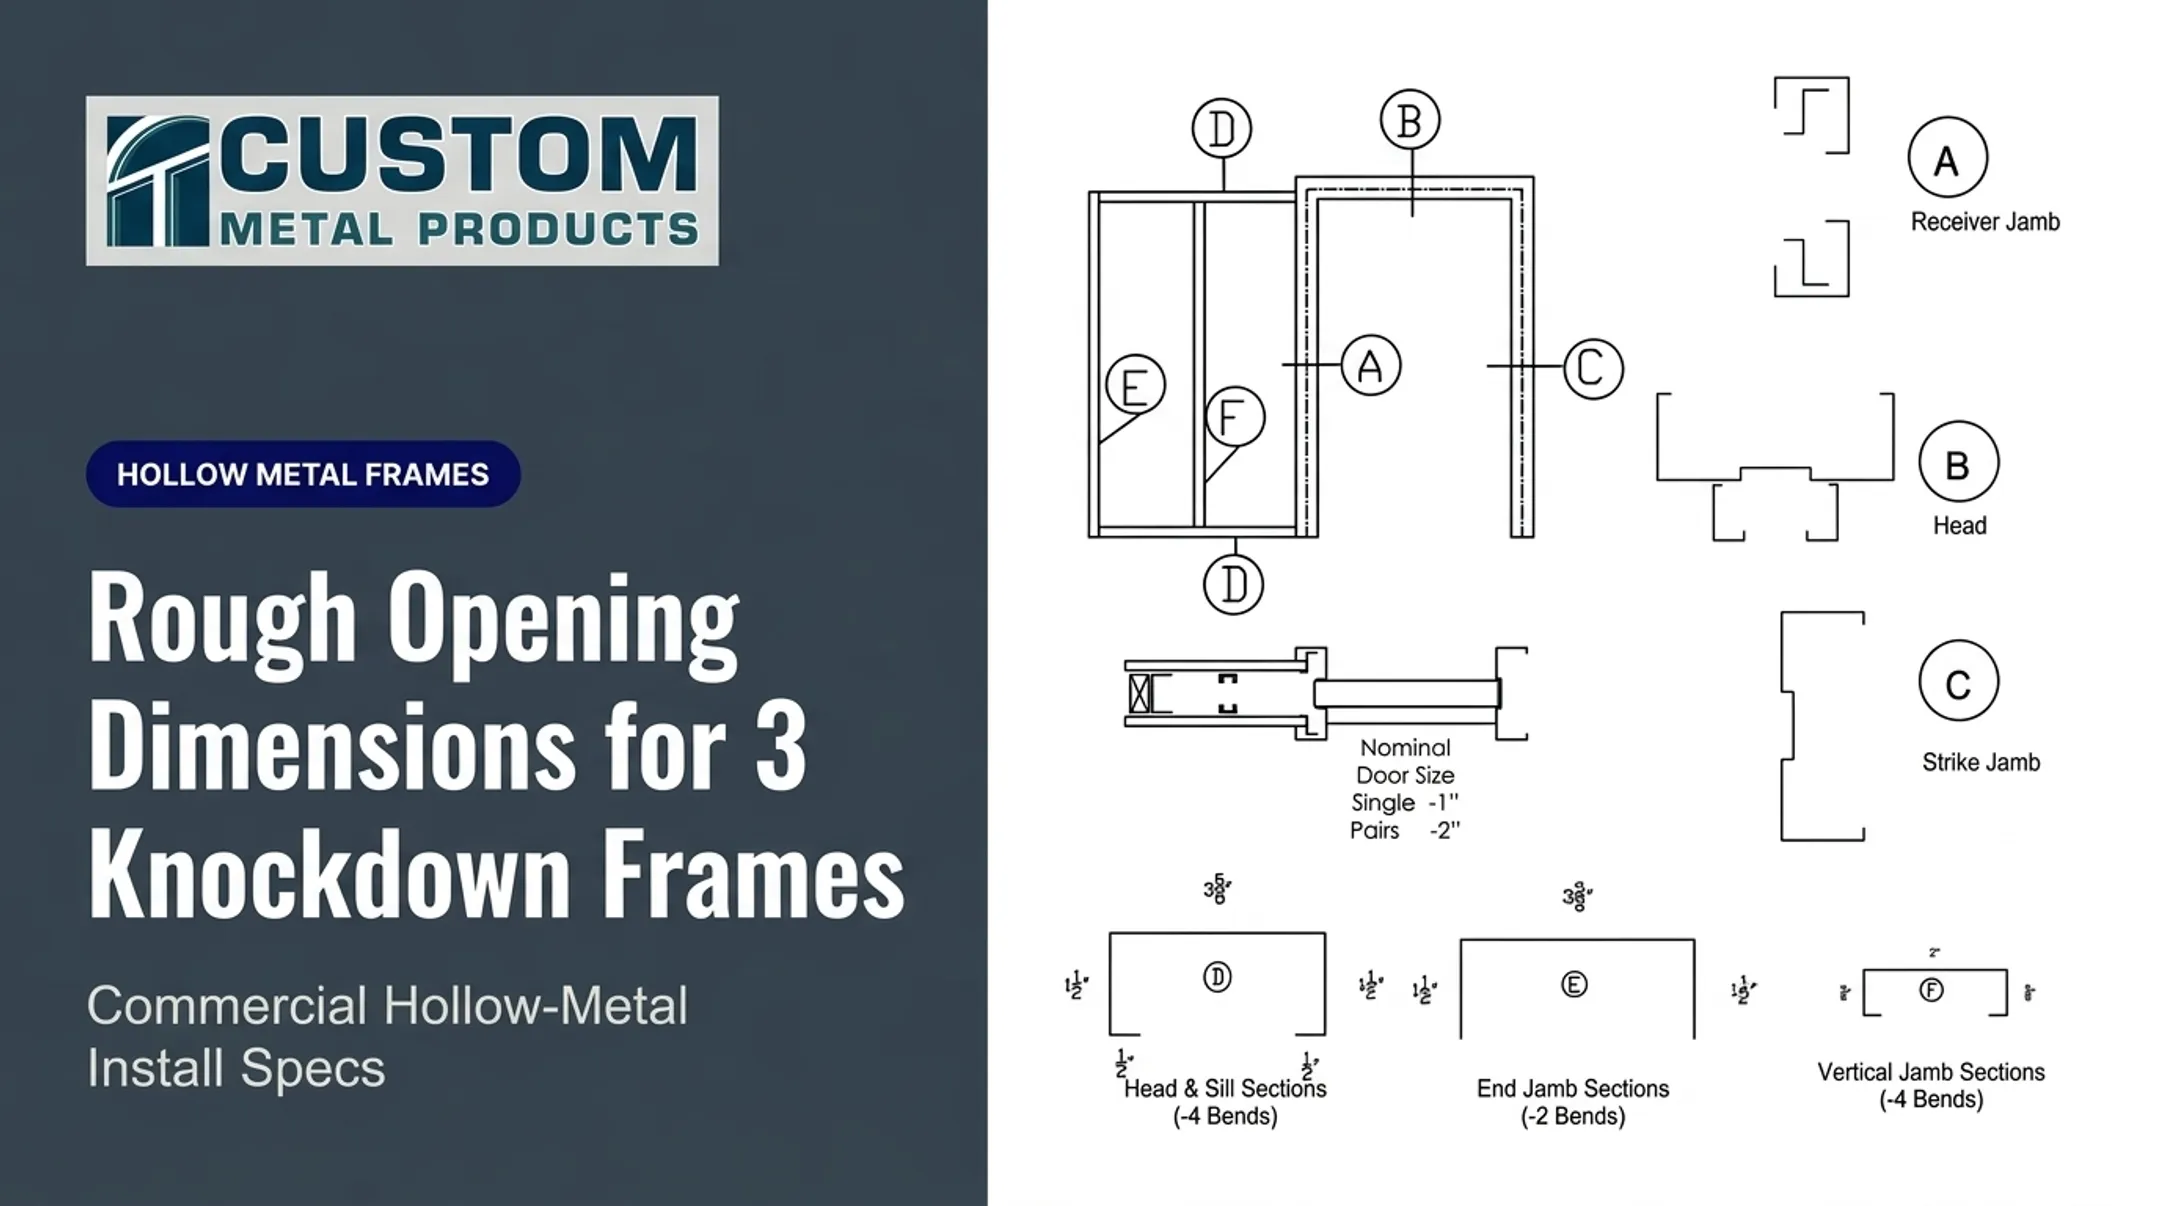
Start with the complete frame or unit width, then add the manufacturer's installation clearance for shimming and anchoring. For Custom Metal Products' knockdown drywall frames:
- 2-inch face: finished opening width plus 2 to 2-3/8 inches
- 1-3/4-inch and 1-1/2-inch face: add a maximum of 2 inches
If you only know the nominal door width, label your result as an estimate. Frame faces, stops, jambs, mullions, and sidelites all change what the opening actually needs to be.
Example: A 36 x 80 nominal residential prehung door often lists a rough opening around 38-1/4 x 82 inches. That figure does not apply to a commercial hollow metal frame—use your verified unit dimensions instead.
Step 3: Calculate the Preliminary Height
Measure from the correct floor reference (subfloor, finished floor, or threshold support) up to the underside of the header. Then account for the frame's actual dimensions, shimming space, and any floor finishes.
A door marked "80 inches" doesn't necessarily match the actual overall frame height. Let the frame or prehung unit documentation control the final number.
Formula structure:
Preliminary rough opening height = complete unit height + required installation clearance (+ floor elevation adjustment, calculated separately)
For a knockdown drywall frame, that installation clearance runs 3/4 inch to 1 inch maximum above the finished opening height. Skip the floor elevation adjustment, and you'll end up chasing a threshold gap after the frame's already anchored.

Step 4: Verify Wall Depth and Structural Conditions
Measure the finished or planned wall assembly and compare it against the frame's jamb depth. Drywall thickness, sheathing, masonry, and insulation all affect how the frame actually fits.
Jamb depth ranges vary by profile:
- Single-rabbet profiles: 2-1/8 to 14-1/2 inches
- Double-rabbet profiles: 2-3/8 to 14-1/2 inches, with a minimum 2-1/4-inch throat
Frames that overlap the wall need a throat dimension roughly 1/8 inch greater than the dimensioned wall thickness to absorb minor irregularities in the framing. Confirm that headers, king studs, and masonry reinforcement match the construction type shown on approved plans—structural sizing decisions belong with a qualified professional, not a rough opening calculator.
Step 5: Validate Before Ordering or Framing
Compare your calculated width, height, depth, diagonals, and clearances against the manufacturer's rough opening requirement and the project door schedule. Check diagonals to confirm the opening is square, not just the right size.
Before releasing the opening or placing an order:
- Verify fire-rating labels match the door schedule.
- Confirm hardware preparations align with the approved hardware schedule.
- Check swing, handing, and accessibility/egress requirements.
- Confirm installation tolerances against the frame manufacturer's instructions.
For custom commercial hollow metal openings, send your dimensions and project specs to Custom Metal Products for frame-sizing guidance or a quote. Use that check to verify your numbers—not as a substitute for approved construction documents.
When to Use the Calculator and What to Prepare
Use a rough opening calculator for estimating, layout, replacement planning, and door-schedule coordination. Once you move toward fabrication, inspection, or installation, switch to manufacturer-approved dimensions.
Equipment you'll want on hand:
- Tape measure, level, and framing square or laser
- Straightedge and calculator
- Camera for documenting existing conditions
- Door schedule, frame schedule, and shop drawings
Information to gather before you start:
- Nominal and actual door dimensions
- Frame type and jamb depth
- Wall construction (steel stud, wood stud, masonry)
- Finished-floor condition and threshold details
- Sidelites, transoms, and hardware requirements
- Fire-rating needs
With those details in hand, check constraints before you change anything. Identify load-bearing walls, utilities, fire-rated assemblies, and egress limits. Major framing changes need review from the responsible contractor or a qualified design professional, not just a rough opening calculation.

Key Parameters That Affect the Rough Opening Calculation
A calculator only produces a reliable number when every input describes the actual assembly and site condition, not an assumed "standard" door.
Door and Frame Dimensions
Nominal door size describes the opening leaf. The complete frame adds jambs, faces, stops, and anchors on top of that.
Using slab size alone can produce an opening that's too tight, too loose, or simply incompatible with the specified frame. Work from a manufacturer dimension sheet or shop drawing instead of guessing.
Frame Type and Installation Method
These frame types use different clearances and anchoring sequences:
- Welded frames
- Knockdown (KD) frames
- Drywall frames
- Masonry frames
A KD drywall frame, for example, uses a removable frame-spacing bar at the base to hold opening width steady during installation. A welded frame skips that step because studs are set to the jamb anchors as the wall goes up. Apply the wrong allowance, and the frame may not anchor or sit flush.
Wall Construction and Jamb Depth
Wood studs, steel studs, masonry, and finish layers all change the required frame depth. A depth mismatch leaves the frame proud, recessed, or unable to accept trim.
Record the full wall build-up (stud plus drywall on both faces) before ordering, not just the stud dimension alone.
Floor and Threshold Conditions
Finished flooring, sloped thresholds, and elevation changes affect both the height reference and bottom clearance. Standard door details typically call for a 3/4-inch undercut above a threshold, with a separate condition for no-threshold applications. Confusing subfloor measurements with finished-floor measurements is one of the more common ways projects end up with a door that drags.
Compliance and Performance Requirements
Fire ratings, egress, and accessibility requirements can change which frame and hardware preparation apply, even when the dimensions look correct on paper.
The 2024 International Building Code requires a minimum 32-inch clear door width for egress doors, measured with the door open 90 degrees. That figure is a finished clear-opening requirement, not a rough opening add-on. A dimensionally correct opening can still fail inspection if it's paired with the wrong labeled assembly.

Common Mistakes and Troubleshooting Issues
Watch for these frequent rough-opening errors before you frame or order:
- Skipping manufacturer documentation. Pull the approved frame schedule, shop drawing, or installation instructions first. Guessing at clearances is how mismatches happen.
- Measuring only once. Take multiple width and height readings, check diagonals, and verify plumb and level. When numbers vary, investigate and use the limiting measurement.
- Confusing slab, frame, and rough opening. Label every measurement and note whether it was stud-to-stud, frame-to-frame, or finished-surface-to-finished-surface. Tedious labeling prevents costly mix-ups later.
- Ignoring floor and wall depth. Confirm finished-floor buildup, jamb depth, and anchoring support before assuming a standard clearance applies.
- Opening too small. Minor gaps may fall within permitted tolerance. SDI guidance for butted-frame applications recommends a rough opening at least 3/16 inch larger on three sides than the overall frame size. Larger misses usually mean reframing, and any structural or fire-rated change needs professional review.
- Opening too large or out of square. Shims, fillers, and frame-specific adjustments can handle limited deviation. Fix excessive gaps or distorted framing before install—do not patch around them.
- Commercial or fire-rated opening off schedule. Stop. Compare the opening to the approved submittal and rating requirements, then contact the frame manufacturer or project authority before proceeding.
Conclusion
A door frame rough opening calculator is a planning tool, not a final answer. A dependable result depends on complete unit dimensions, verified clearances, accurate field measurements, and manufacturer documentation—used together, not separately.
Most failures trace back to the same handful of causes:
- Using nominal door size alone
- Overlooking floor or wall conditions
- Applying one frame type's allowance to a different frame
Finalize your door and frame specifications first. Then, for unusual commercial, custom, or fire-rated openings, have a qualified installer, supplier, or a Custom Metal Products representative review the dimensions before fabrication begins.
Frequently Asked Questions
What is the rough opening for a 36x80 prehung door?
Calculate width and height from your verified unit dimensions—not one universal figure. Published examples often fall around 38 x 82 inches to 38-1/4 x 82-1/2 inches, but always follow the manufacturer’s instructions for that unit.
How do you calculate a rough opening for a door frame?
Start with the complete frame or unit dimensions, add the manufacturer's installation clearance, then check wall depth and floor conditions. Verify width, height, and square before finalizing.
Is the rough opening based on the door slab or the frame?
The complete door-and-frame assembly, plus installation clearances. Nominal slab size alone isn't enough because it ignores jambs, stops, and anchoring space.
Are rough openings different for hollow metal doors and frames?
Yes. Frame type, profile, jamb depth, anchors, and fire-rating requirements all change the required opening. Check the approved manufacturer documentation for your specific frame, not a generic residential chart.
What should I do if my rough opening is too large or too small?
Check the manufacturer's permitted tolerance first. Minor deviations can often be corrected with shims or fillers, but structural or fire-rated framing changes need professional review before proceeding.
How do I know whether my rough opening is ready for a commercial door frame?
Confirm dimensions, plumb, level, and square, then check wall depth, floor elevation, and anchor support against the approved submittal, door schedule, and hardware preparations before installation.